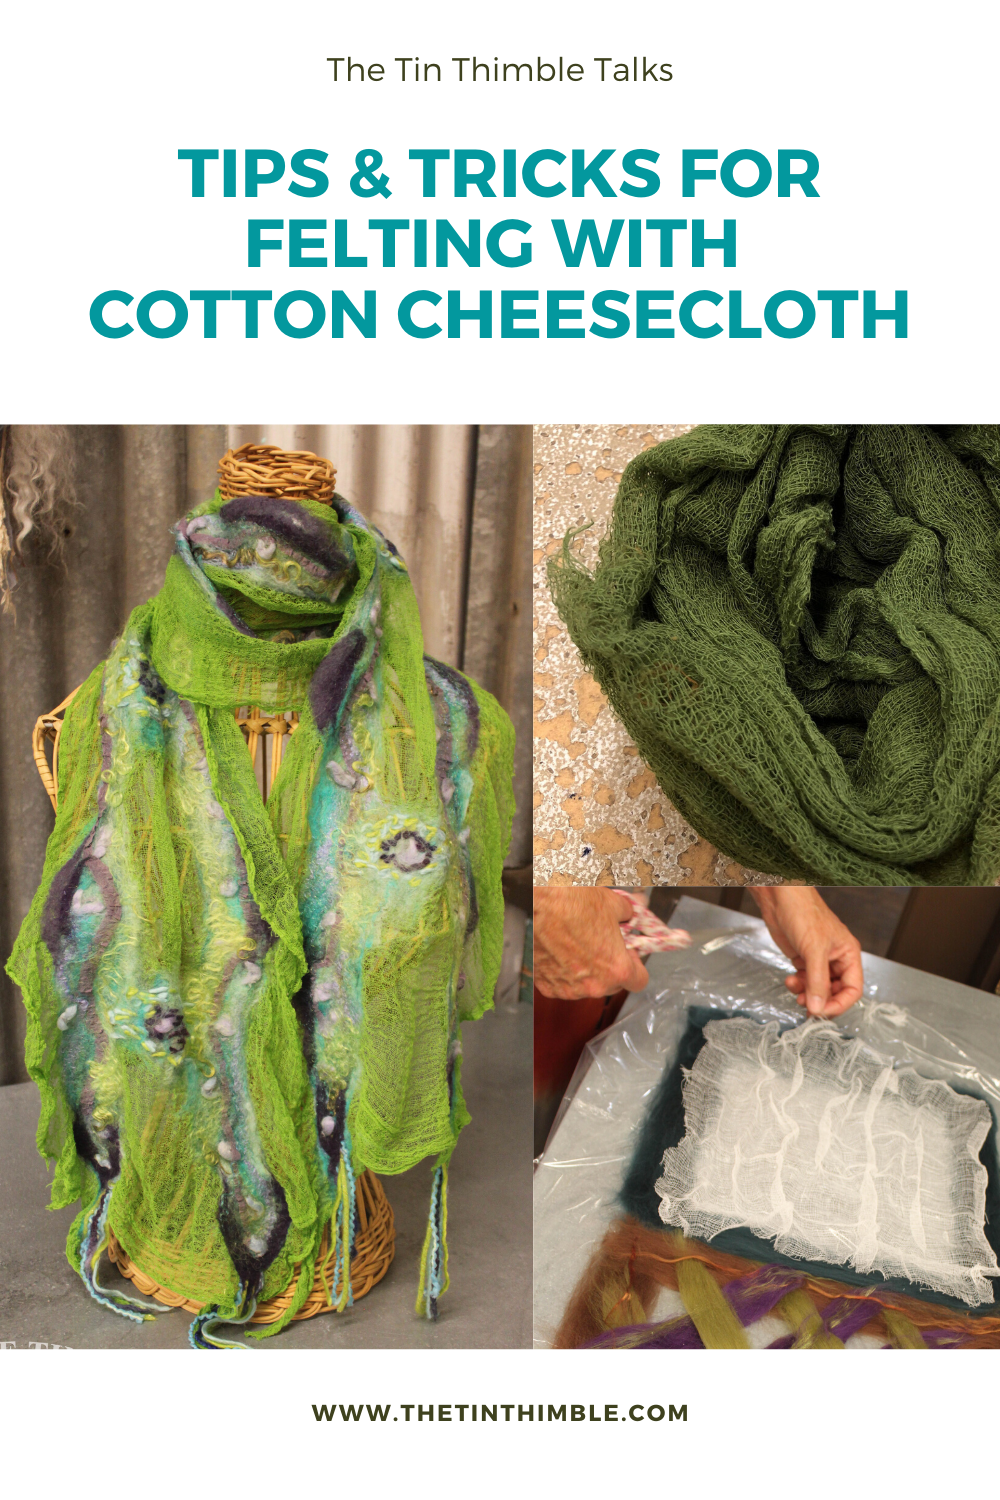
Have you tried felting cheesecloth? Did you know that nuno felting can be done on a variety of fabrics? Yes, it’s possible to create beautiful garments and projects on fabrics other than silk! Though silk chiffon is often the go-to choice for many felters, nuno felting also works on any fabric that has an open weave.
This open weave is key to allow the wool fibers to work their way in and out of the fabric to properly adhere. One of our favorite fabrics to nuno felt is cotton cheesecloth. Why? Well, cotton gauze is a lovely fabric that results in a soft, organic, more casual nuno felted scarf, garment, or product than those done on silk.
#1 Know What You’re Buying
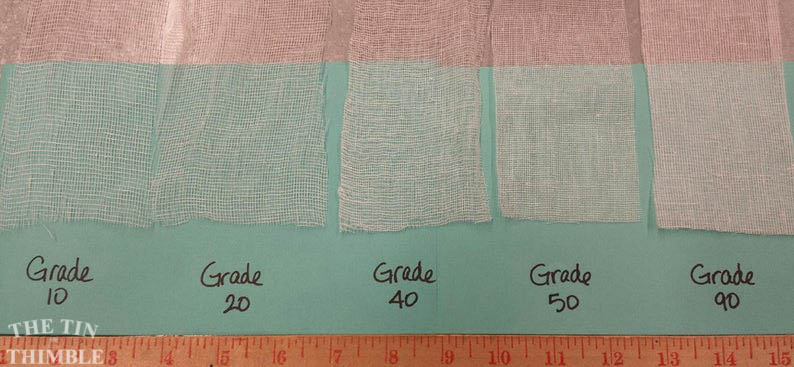
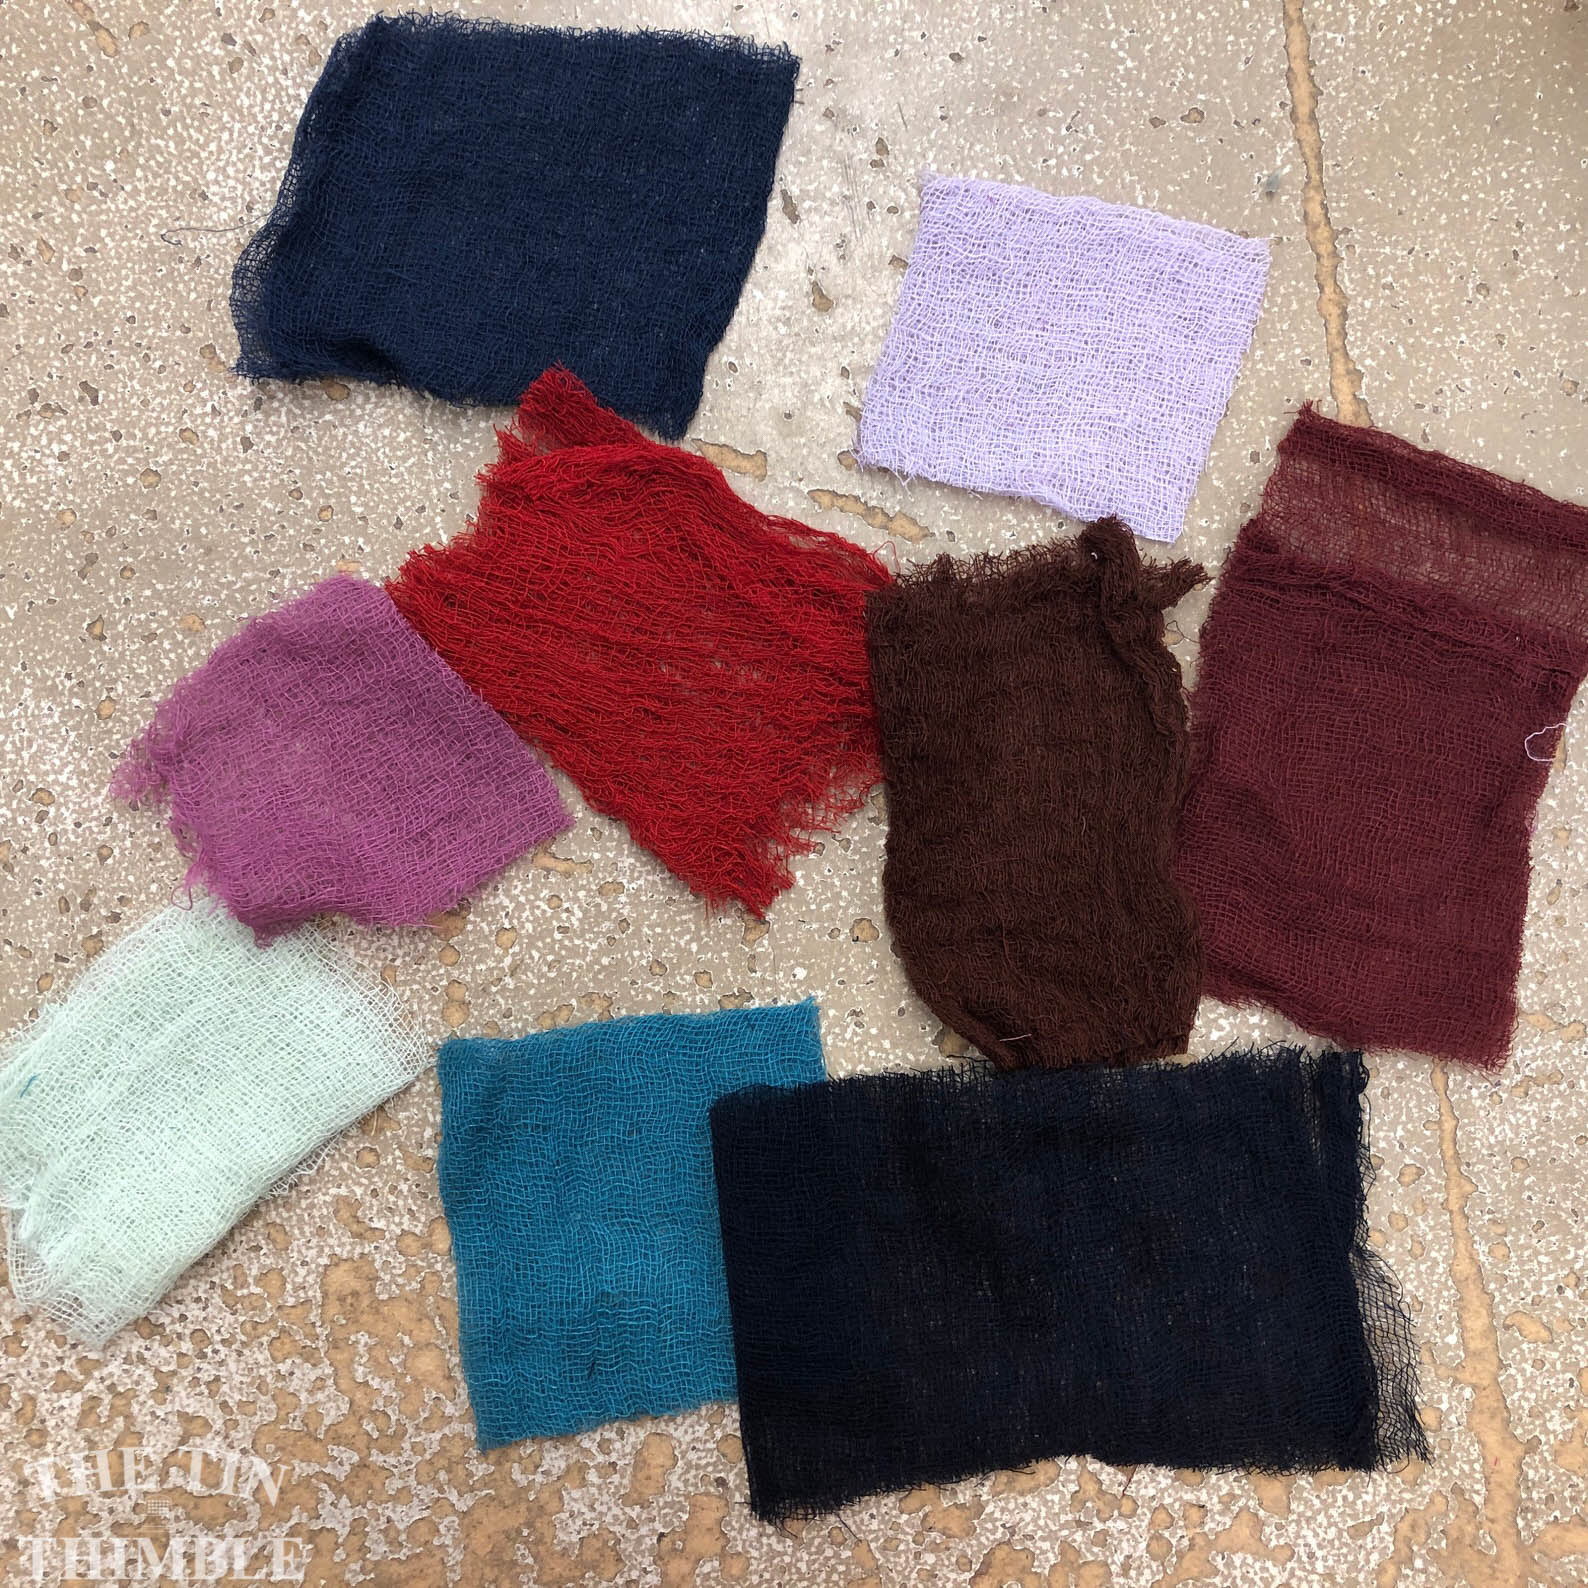
Cheesecloth, also called scrim, or gauze, is a lightweight, 100% cotton fabric that comes in a variety of grades. As the number for each grade decreases, the weave of the fabric becomes more open.
A grade 50 cheesecloth, for example, is a more tightly woven fabric than a grade 10 cheesecloth. All cheesecloth grades will felt, so choosing a grade depends on the look you’re trying to achieve.
We’re particularly fond of the most open weave (grade 10, available here), as it creates the least structured nuno felted product with the most drape.
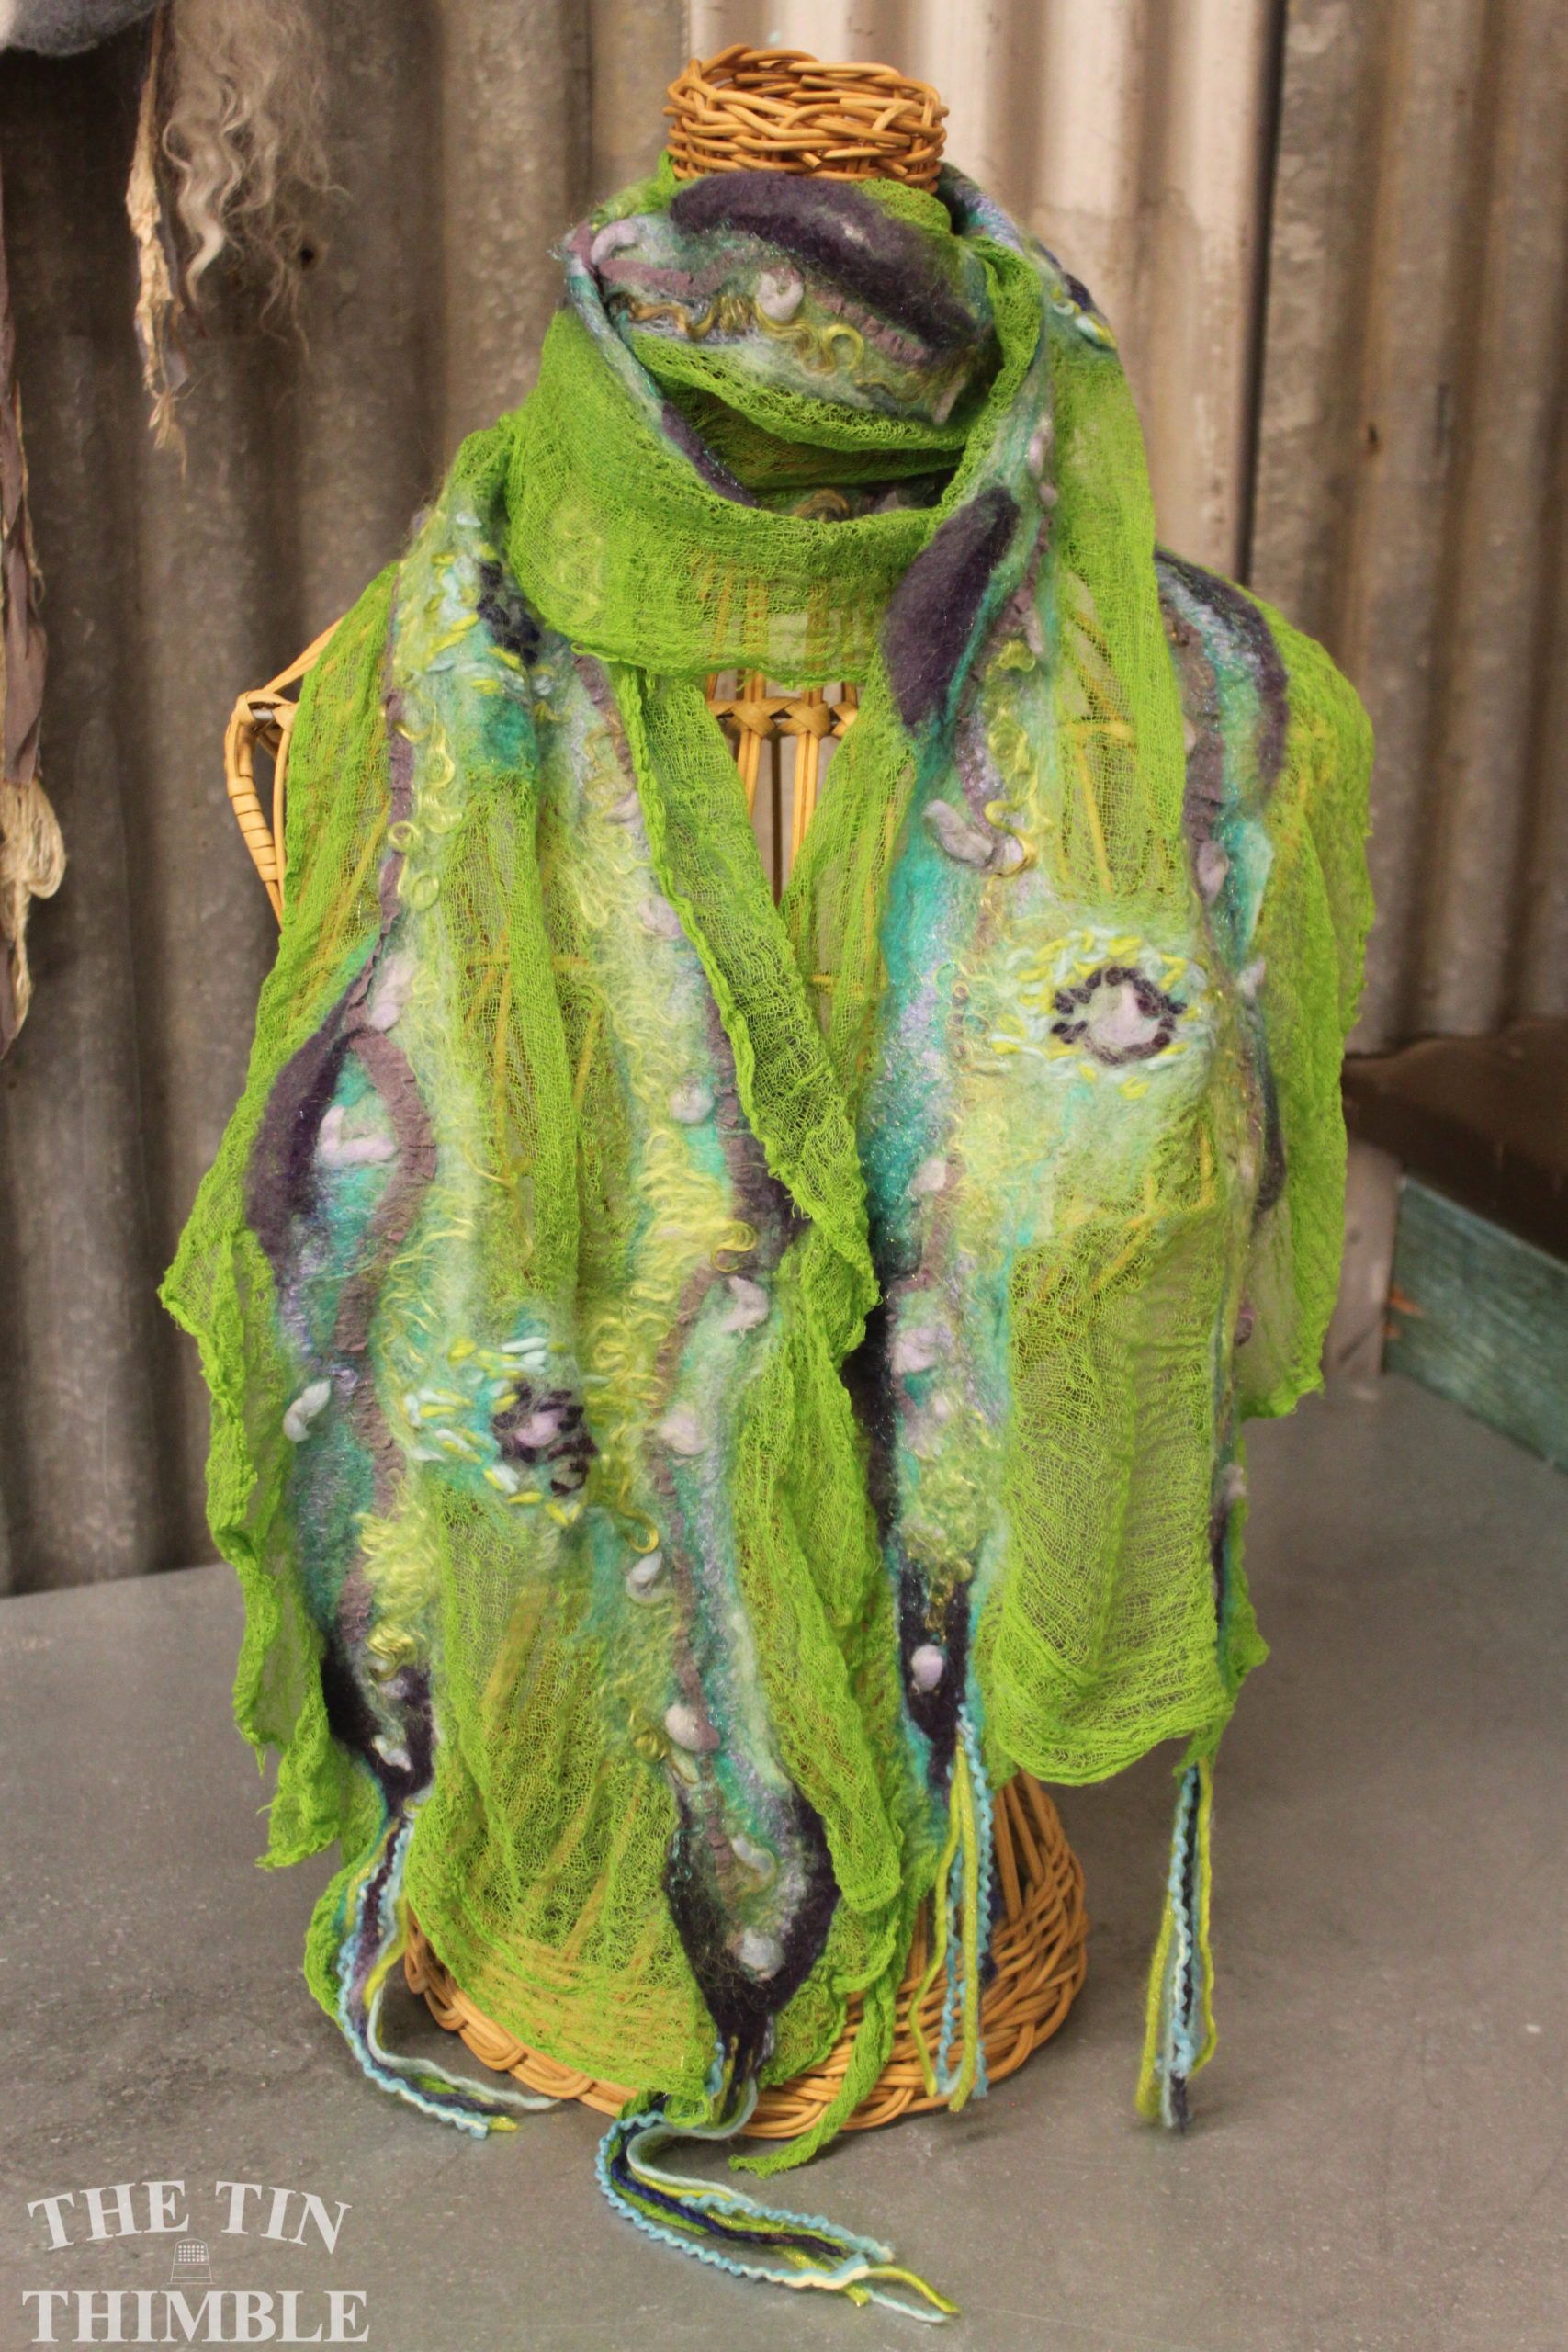
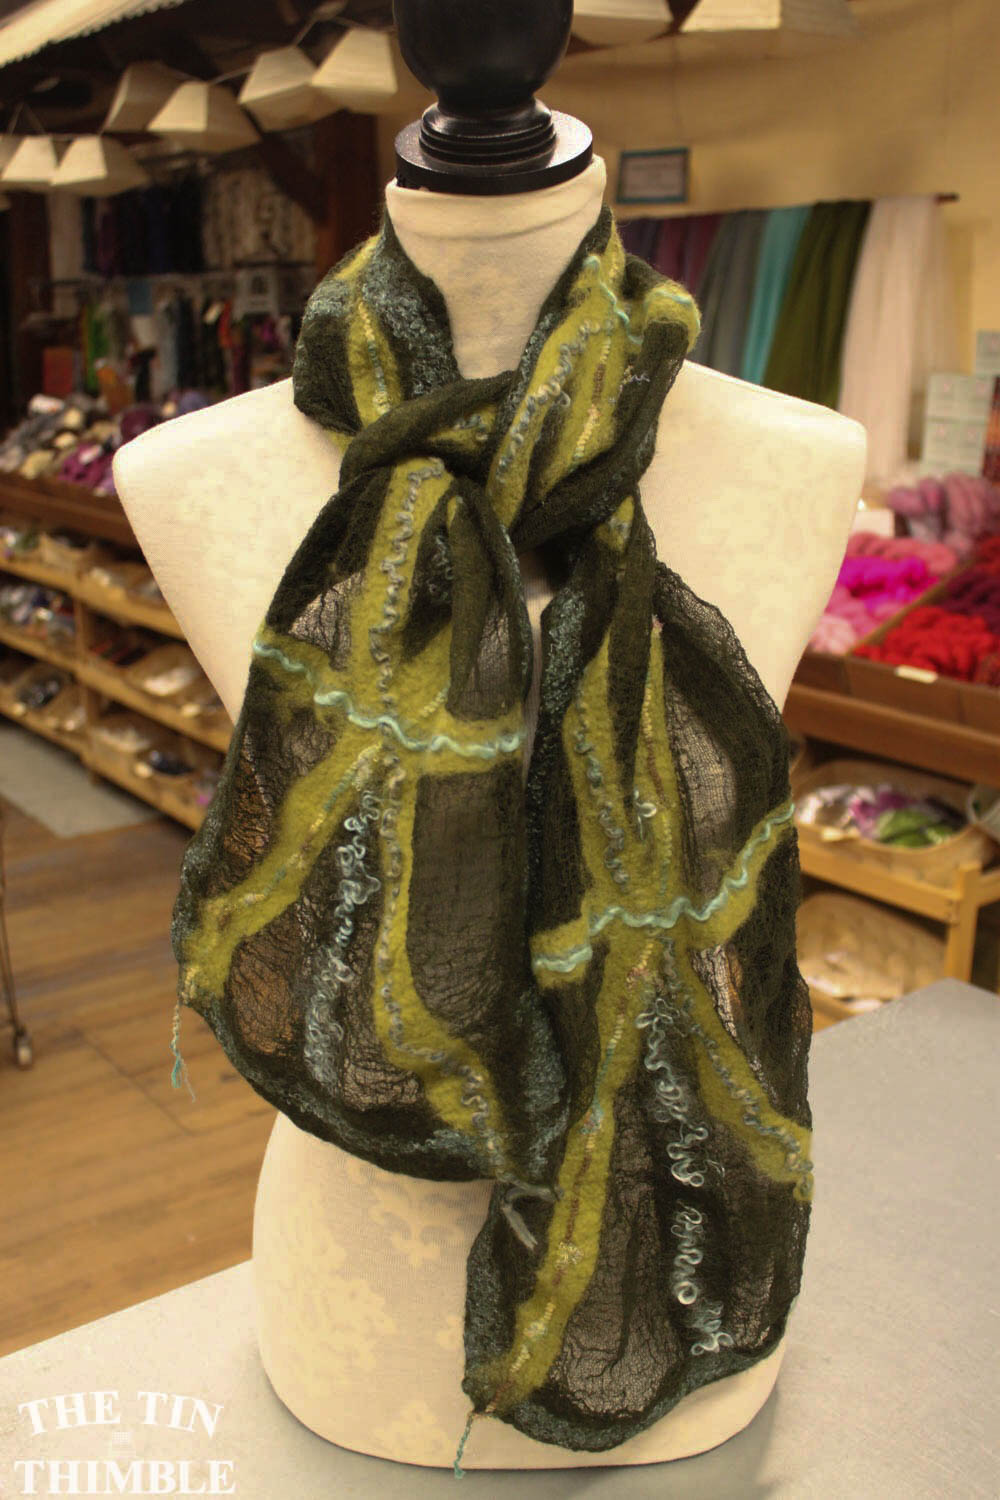
A nuno felted scarf on grade #10 cheesecloth

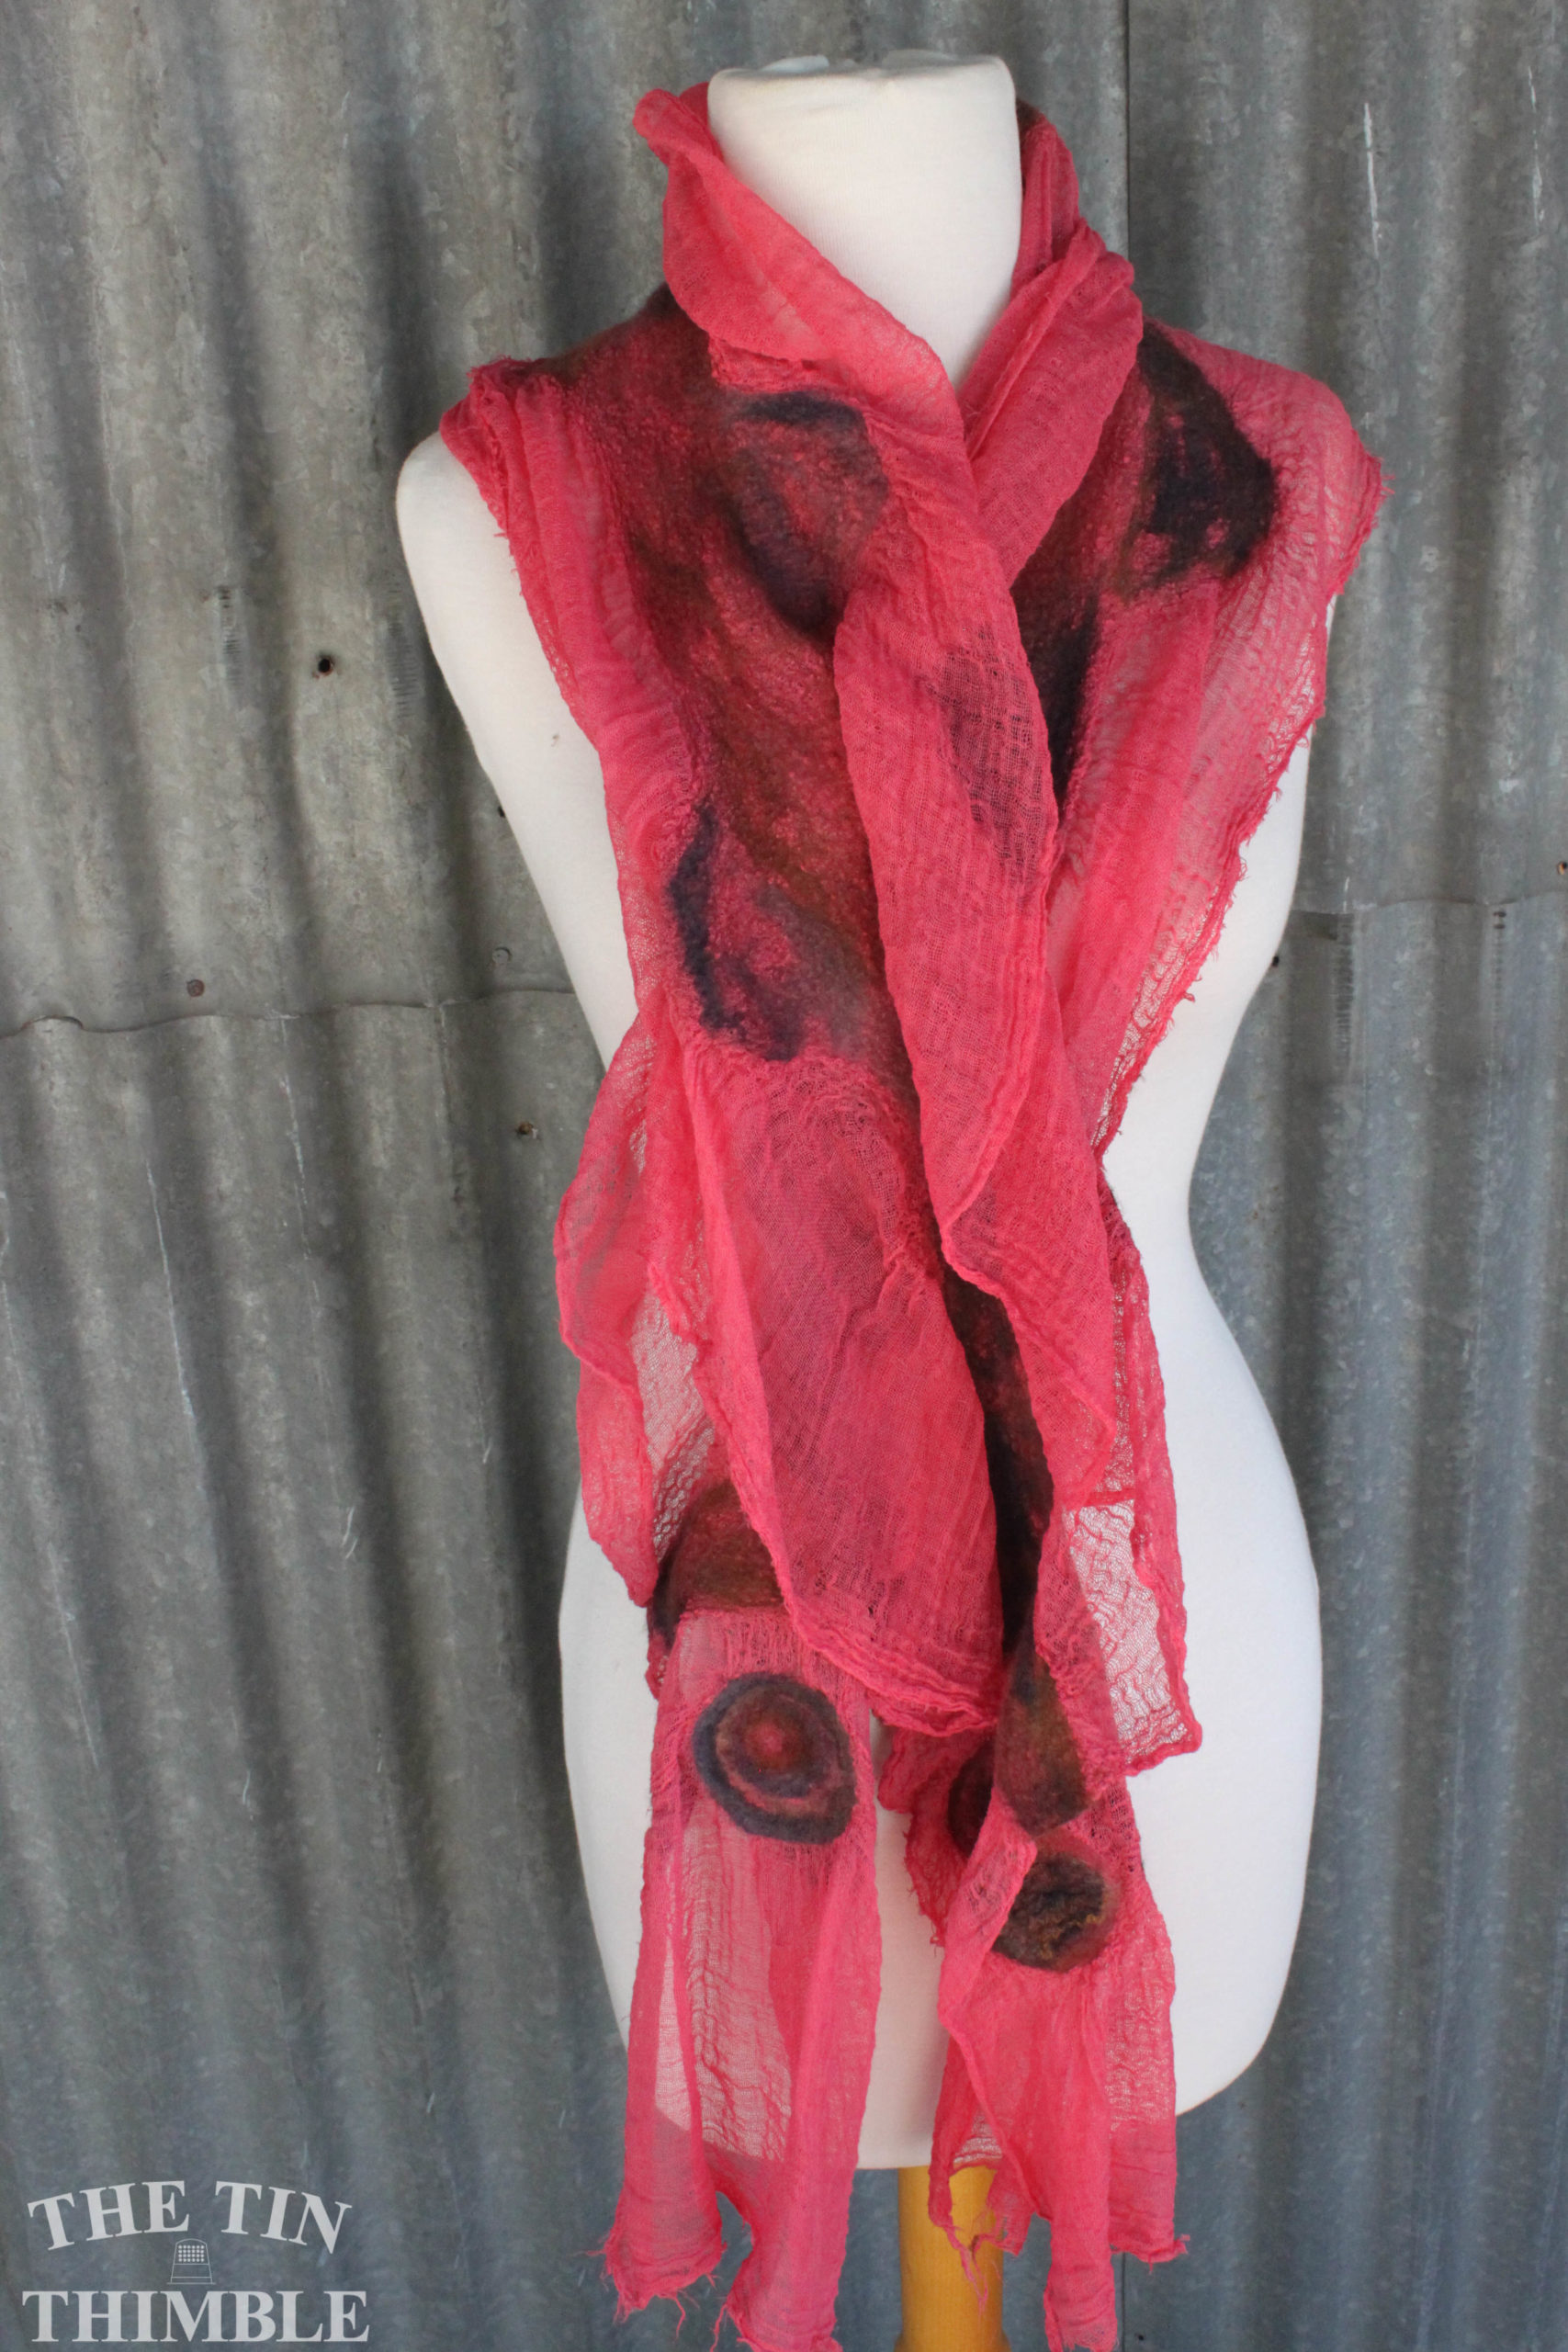
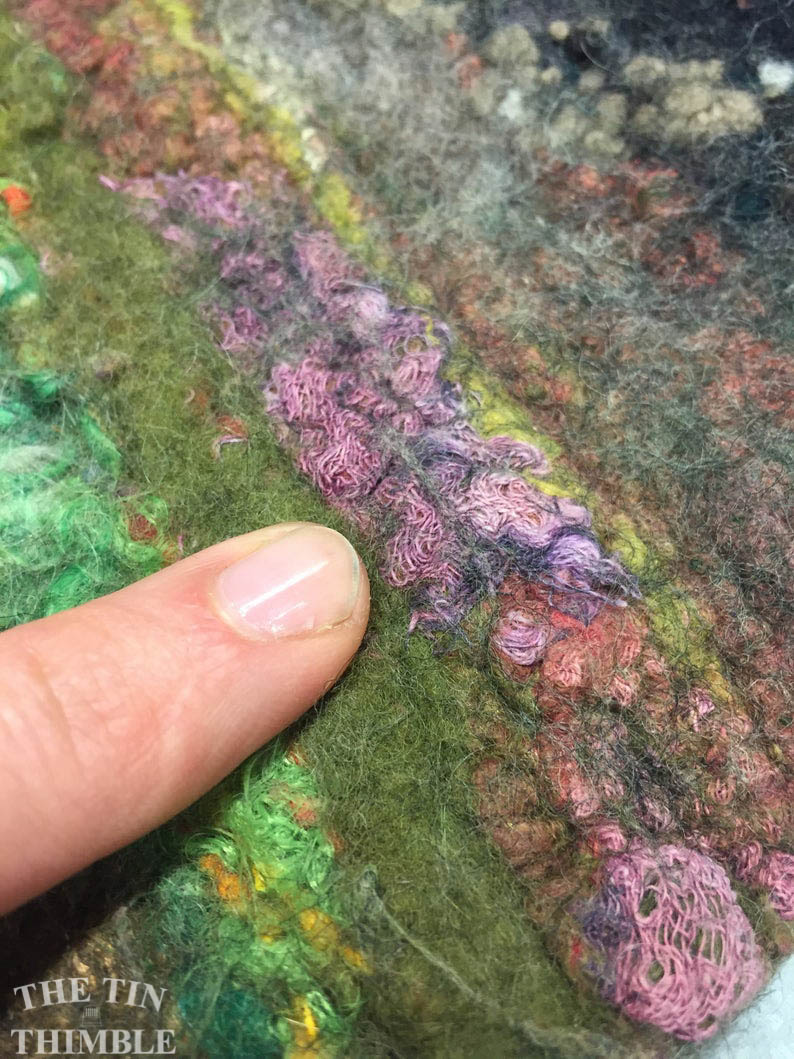
A nuno felted scarf on hand dyed grade #90 cheesecloth
#2 Be Prepared to Work a Little Longer (Though Not Necessarily Harder)
Felting on cotton cheesecloth takes a bit longer than felting on silk chiffon. For reference, our most popular silk chiffon is a 6 momme weight. When writing this post with my mom, Sharon, I asked her, “Why does it take longer?” to which she frankly responded “Well… I don’t know. I’ve never been able to figure it out!” We have a suspicion it has something to do with the fact that cotton fibers are not as fine as those of silk, but that’s just a guess.
When we teach beginners how to make a nuno felted scarf using the dryer method, we put our silk scarves in the dryer for four ten-minute sessions. Students who opt to use cheesecloth have to run their pieces through the dryer for 6-8 ten-minute sessions.
Additionally, for students who enjoy ruffles and ruching, they have to work harder to achieve this effect when felting cheesecloth. You can get beautiful ruffles on a silk chiffon scarf after throwing it 20 times. Cotton cheesecloth takes 30-40 throws before ruffles will begin to form.
#3 Stick to the Dryer Method
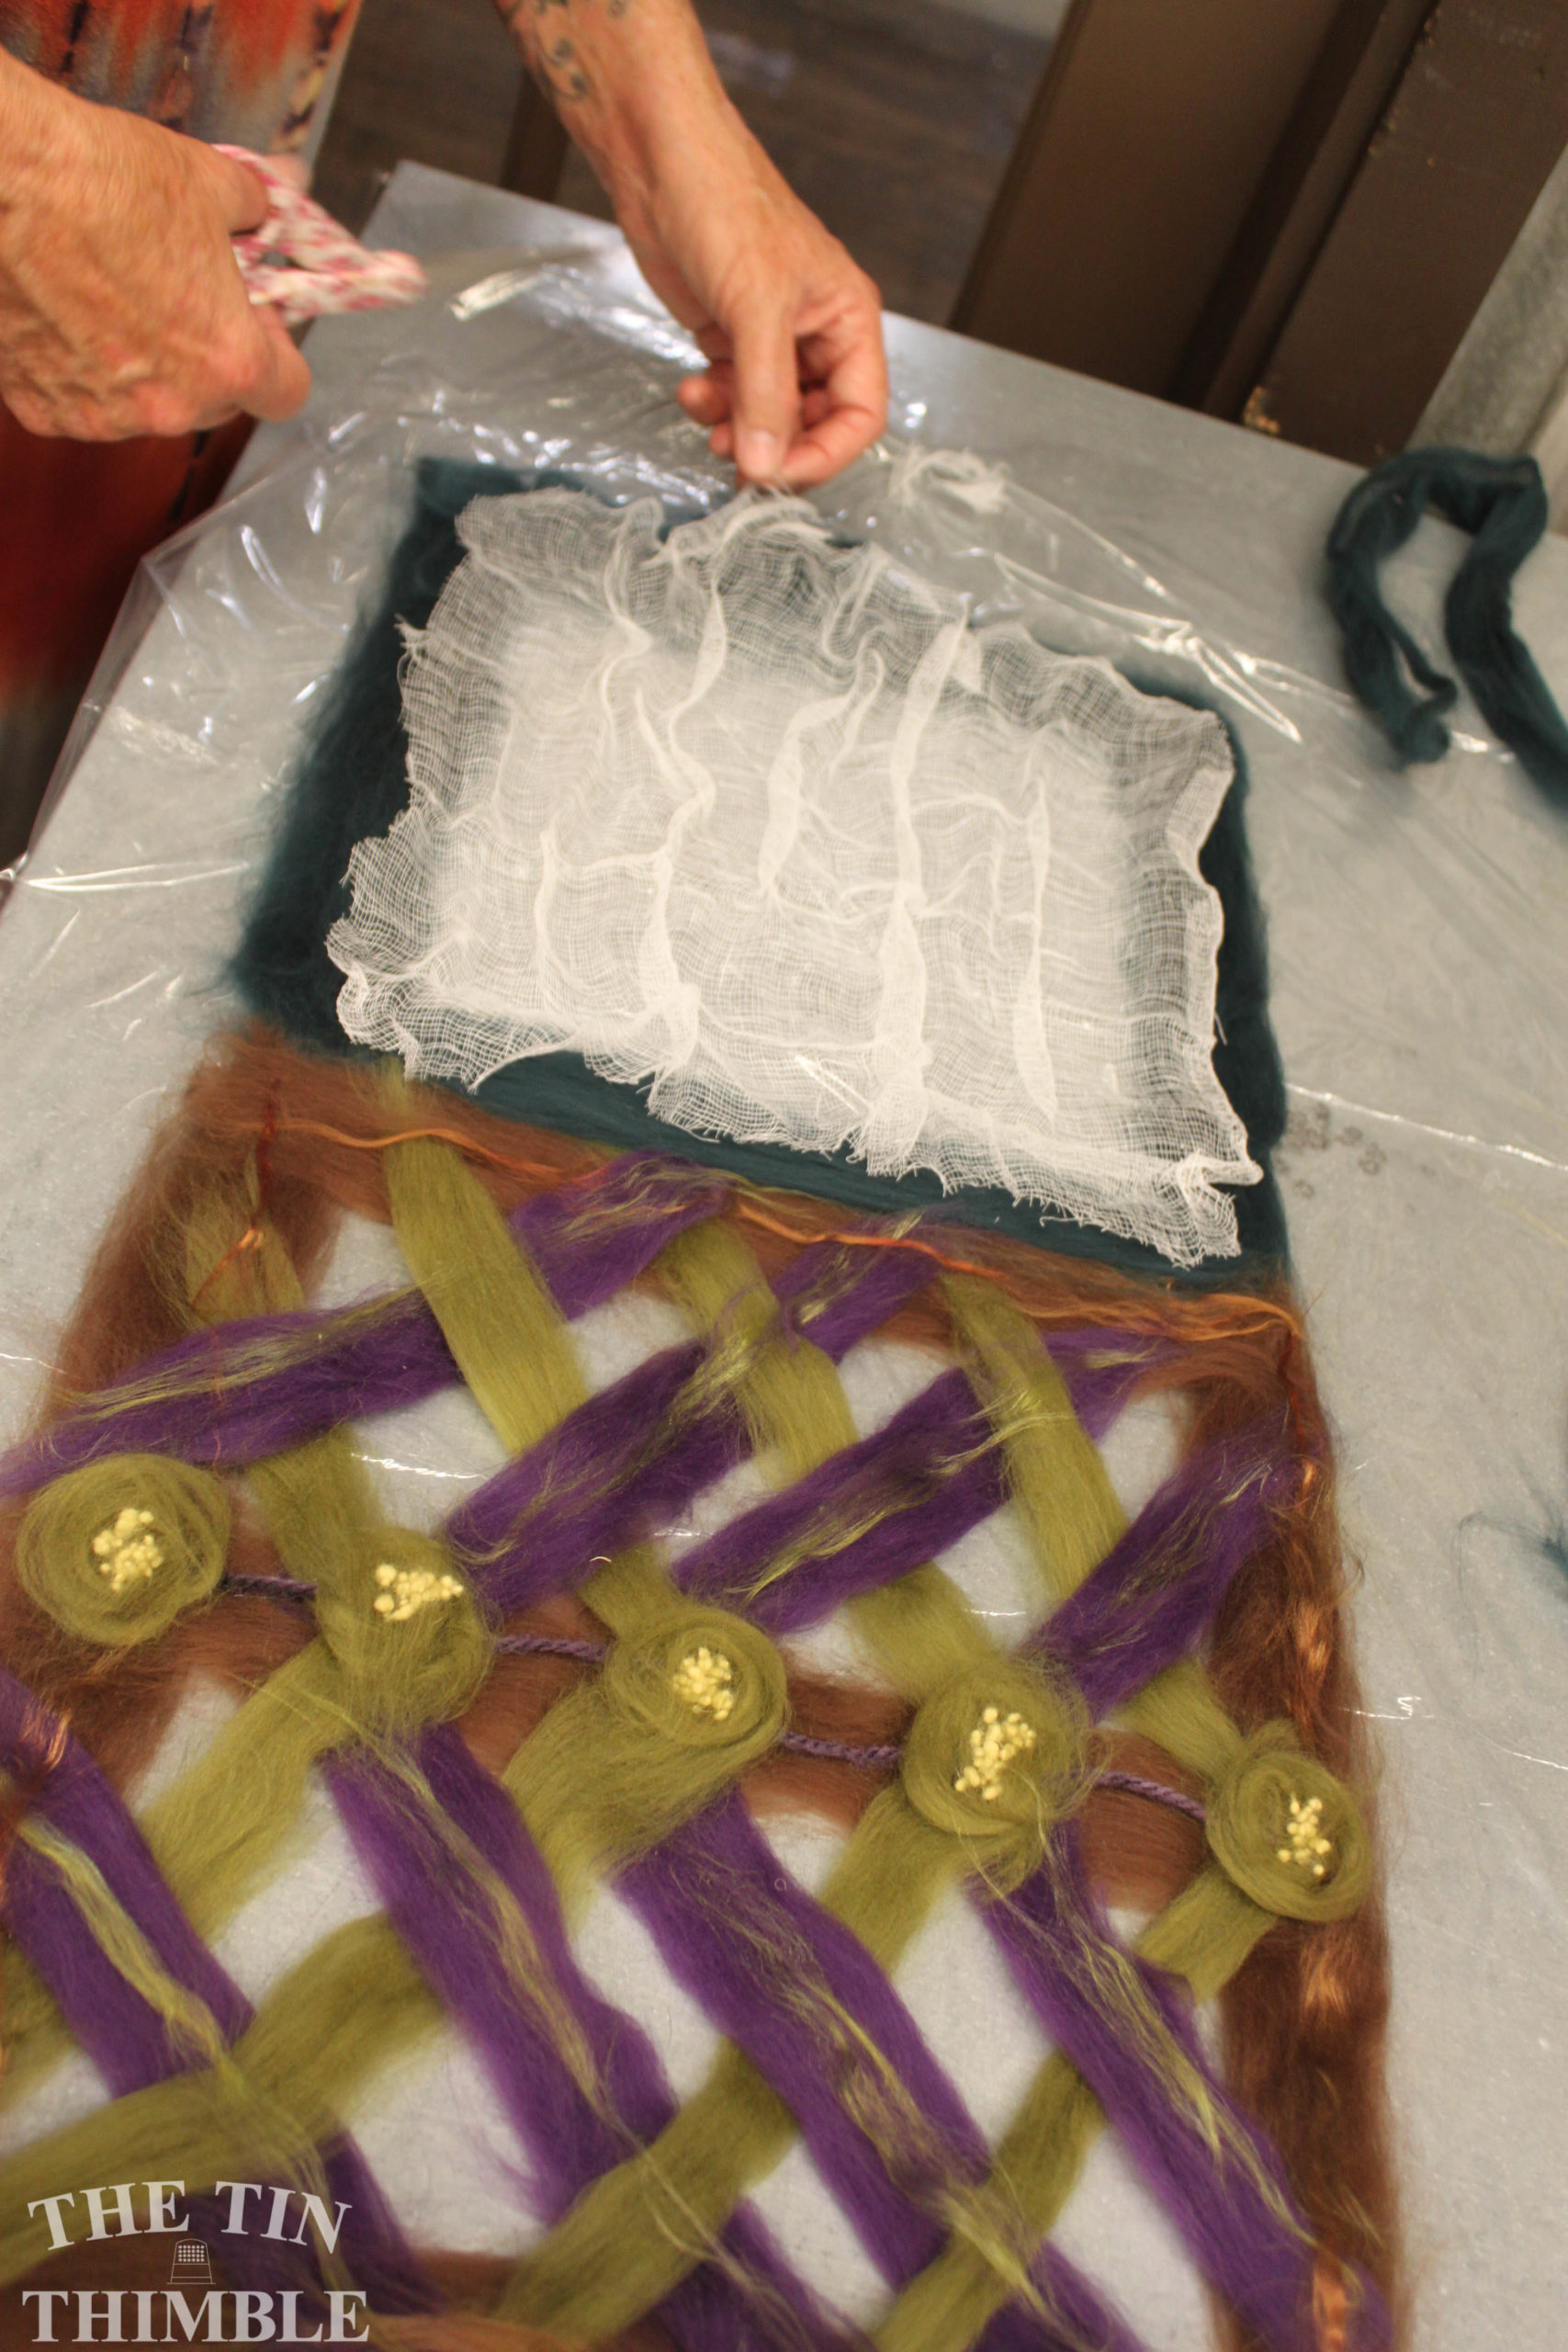
Speaking of the dryer method, we recommend using this method to felt cotton cheesecloth. While cotton can be nuno felted using the traditional rolling method, Sharon has found that students, especially beginners, are more successful when they set the rolling kit aside.
Save your shoulders, elbows, and wrists and let the dryer do the work for you! To reiterate what we said above, we typically put our scarves in the dryer 6-8 times, for 10 minutes each time.
#4 Know When to Stop
Typically, when students make a nuno felted scarf on standard silk chiffon, we show them how the merino wool can be seen on the backside of the scarf when it’s fully felted.
The catch with cheesecloth? Sometimes the wool doesn’t show as much on the backside. This can be tricky when you’re first learning how to felt and use visual cues to decipher when your scarf is done.
Our advice is to practice, practice, practice! Make small nuno felted samplers on silk and cheesecloth and get an idea for how they both feel when you think the felt is ‘done’. Here’s another piece of tried-and-true felting advice from Sharon: when you think you’re done felting, keep going!
#5 Design and Embellish as Normal
Merino, locks, mulberry silk, nylon, sari silk, bamboo, you name it, whatever fibers you normally felt with can be used on cheesecloth with excellent results!
As long as you stick to quality merino wool and embellishment fibers, they’ll felt just as beautifully on cotton cheesecloth as they do on silk chiffon!
#6 Use It as an Embellishment
Not quite ready to commit to making an entire piece on cheesecloth? That’s ok! Get your toes wet by felting small pieces of cotton gauze into your other wet or nuno felting projects.
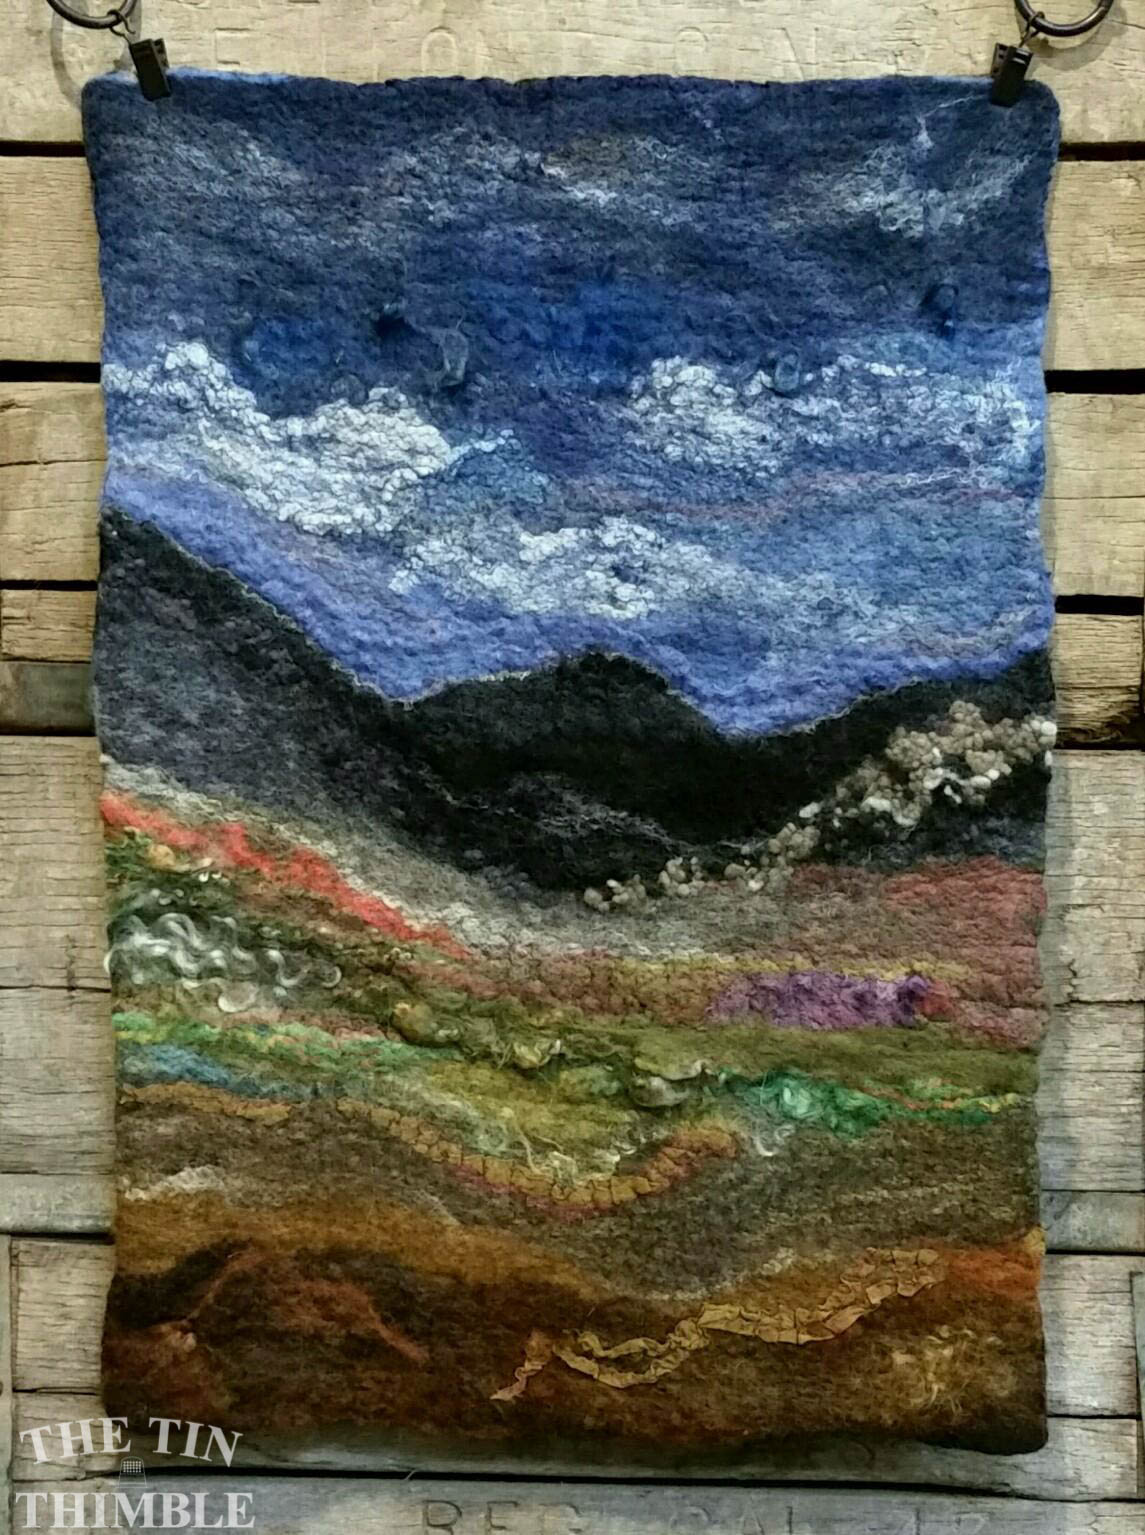
Small pieces of cheesecloth will create fantastic texture in landscapes, bowls, garments, bags, and more. It can also be added to the end of scarves, or the hem of garments to create visual interest.
Have you felted on or with cotton gauze? Were you pleased with the results? Do you have any tips you’d like to add? Comment below and let us know! If you want to purchase some cheesecloth and try it out, shop our selection here:
Thanks for reading and happy felting!
-Hannah
Looking for more felting tips and help? Check out this post.

I have tried felting on gauze It takes dyes well so I used it to make a tunic. I turned out nicely I loved the texture of the finished product I also have used it as textural details and enjoy the dimension it adds to the piece
Yes, that’s another reason we love cheesecloth, it’s so fun to dye! I’m glad to hear you had success with gauze. Thank you for reading and commenting!
Thank you!! I have a Lisa kit for cheese cloth scarf! Can’t wait to try!!
Oh, how fun! We’d love to see what you make, Gretchen! Please share in the Facebook Group if you complete it.
Dear Tin Thimble,
When I last visited your shop I was told that it would be closing. I’m excited to see that you may still be open. I would love to sign up for a class. Felting is something I’ve always wanted to try.
I tried my hand at felting with cheesecloth and I must say I love it! I was extremely pleased with the results. I’ve already ordered more cheesecloth to make more wraps and have also dyed it with nice results.
first contact with T T T …exciting …and as a friend of mine would say …the little grey cells are are excited as well …I was reading about silk vs cotton and the time difference and a thought struck me about this perhaps it might figure into the equation …both silk and wool are protein fiber and cotton does not have that self binding quality (spit join) would be an example ???
hi Hannah Arose, I have a kit for a cheesecloth scarf! Will definitely use your tricks. Thanks for sharing.
Hello! I’m a newbie felter, and I’m wondering how you treat the edges of the cotton scarves shown in this blog to stop them fraying? Do you have another blog on edges generally? Thank you for your interesting site.
Hello Ruth!
We don’t have a specific post on edges, though thats a great idea. To finish the edge, we typically just run a narrow ‘band’ of roving down each edge. This creates a felted hem that prevents any fraying. Hope this helps and happy felting! We’re glad you found us.